Boardwalk decking · 100% black locust
We supply black locust boardwalk decking for parks, beaches, wetlands, and swamps across the United States and Canada. Naturally rot-resistant, with no chemical treatment.
Scroll to walk 12 months of boardwalk
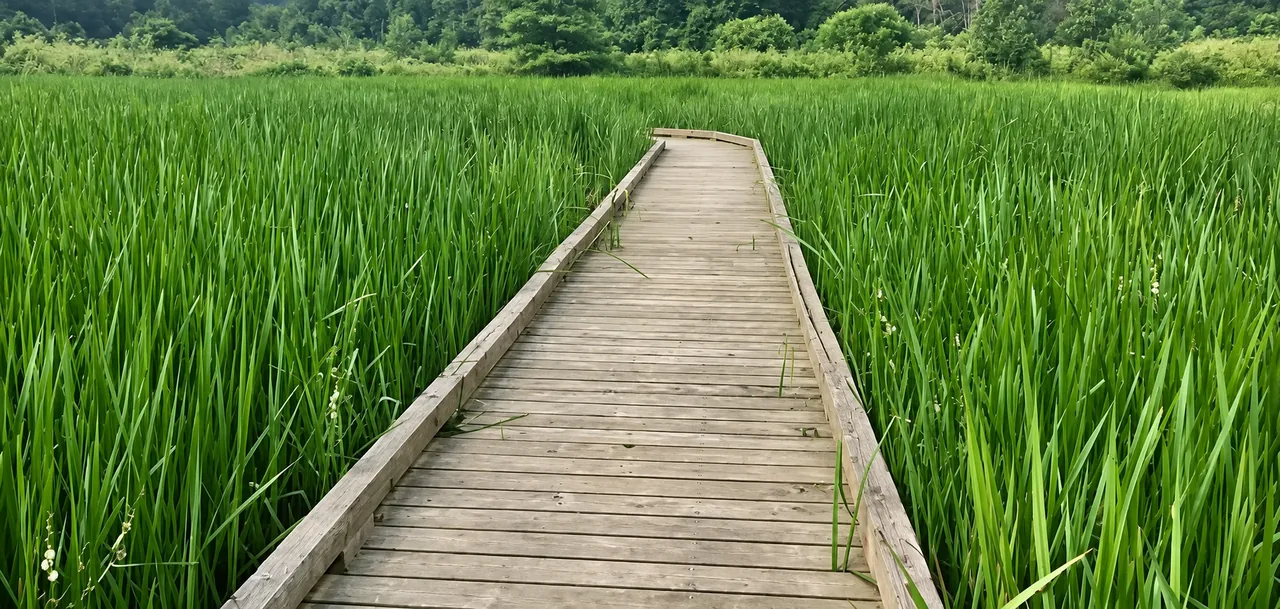
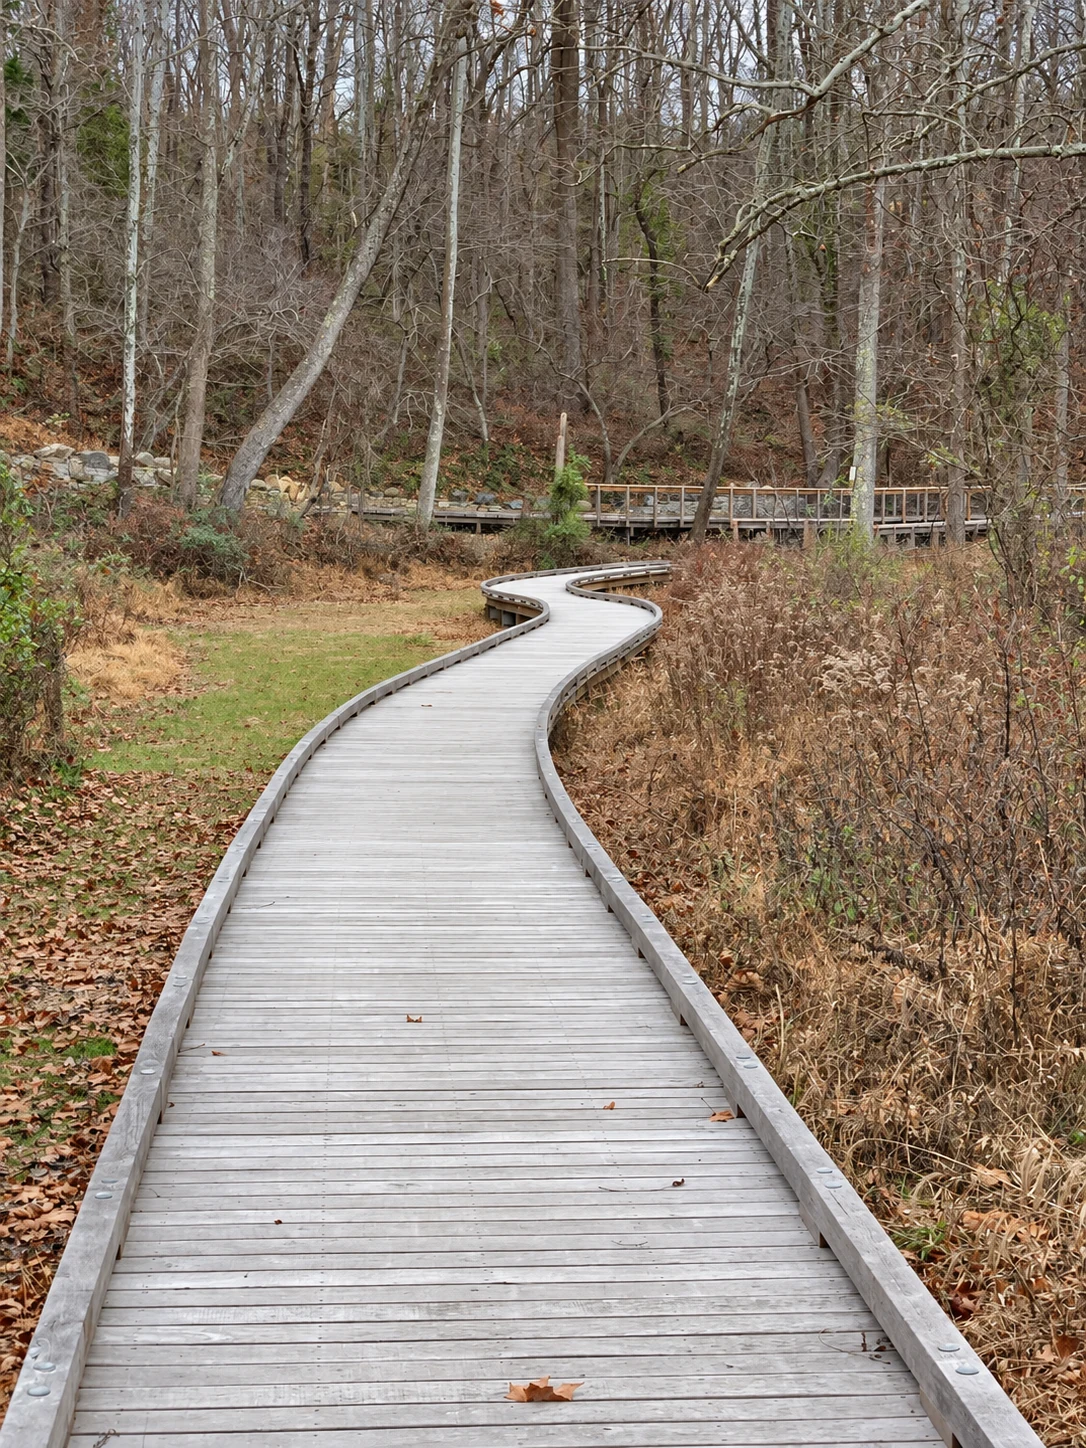
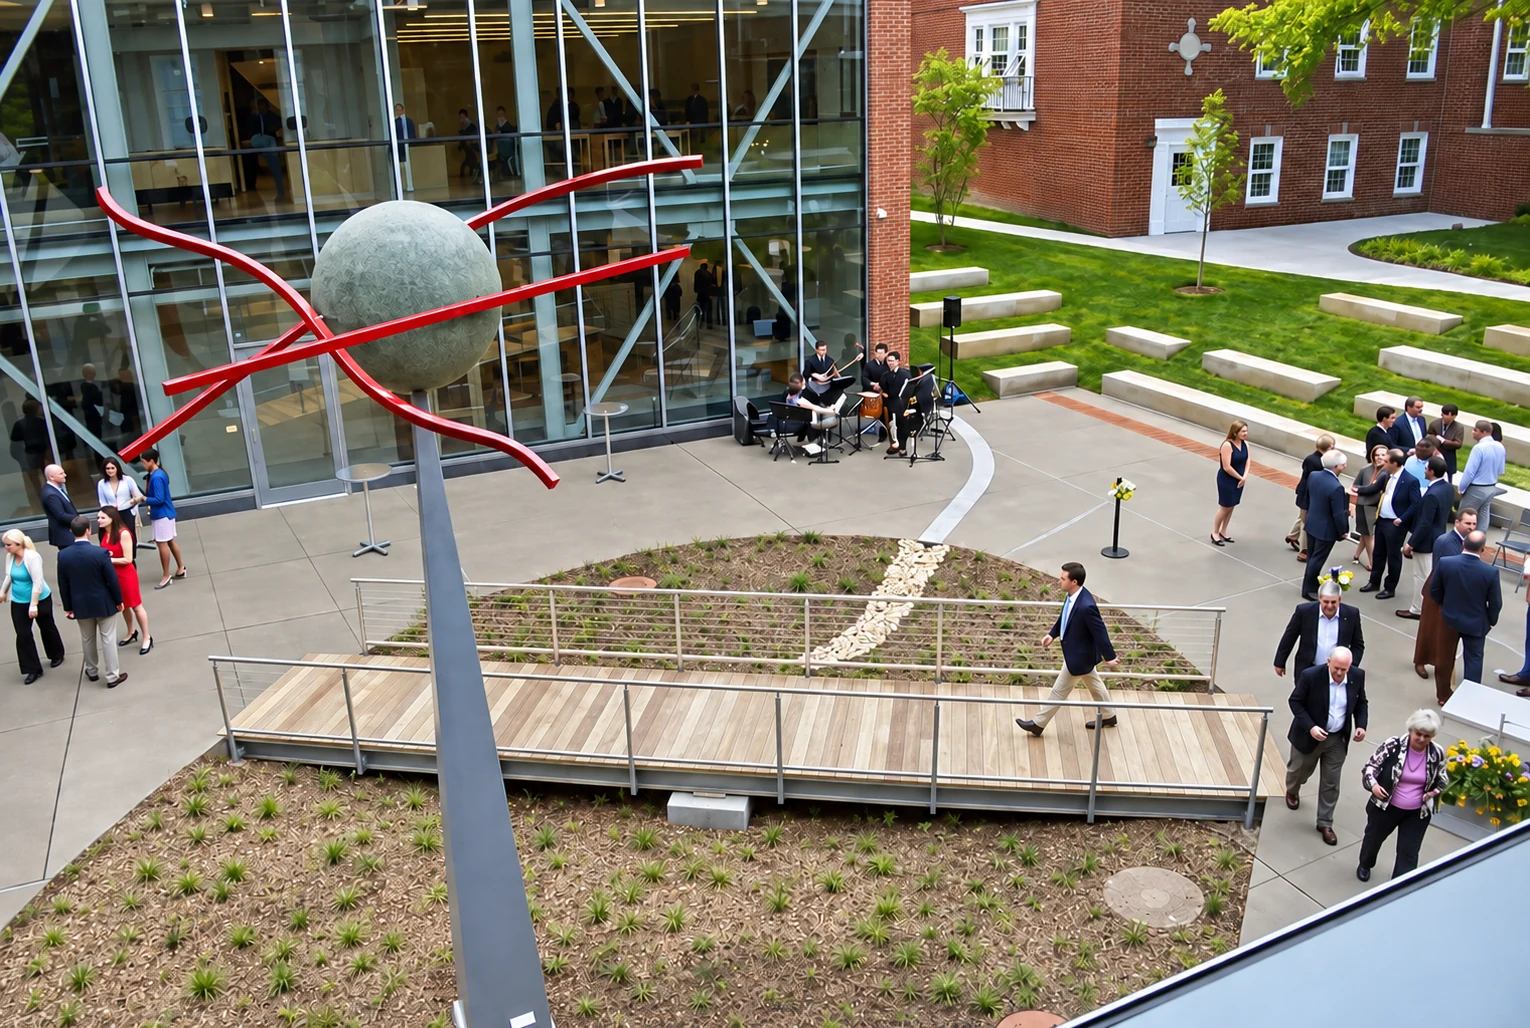
Park · install day
Fresh-milled black locust is golden yellow, sometimes with a green cast. The color comes from natural extractives in the heartwood, the same compounds covered in our black locust history.

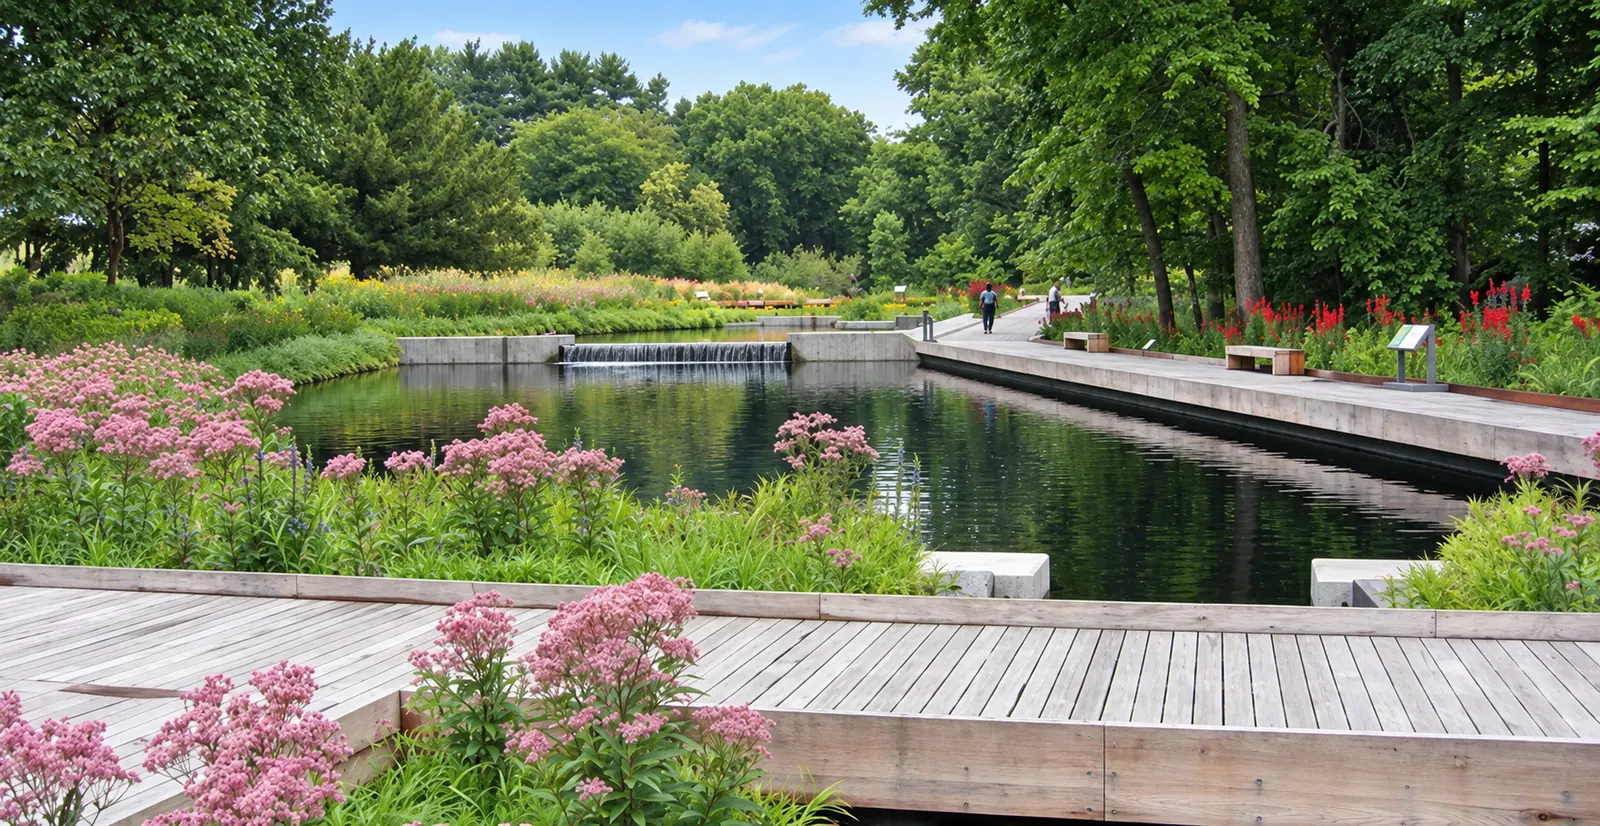

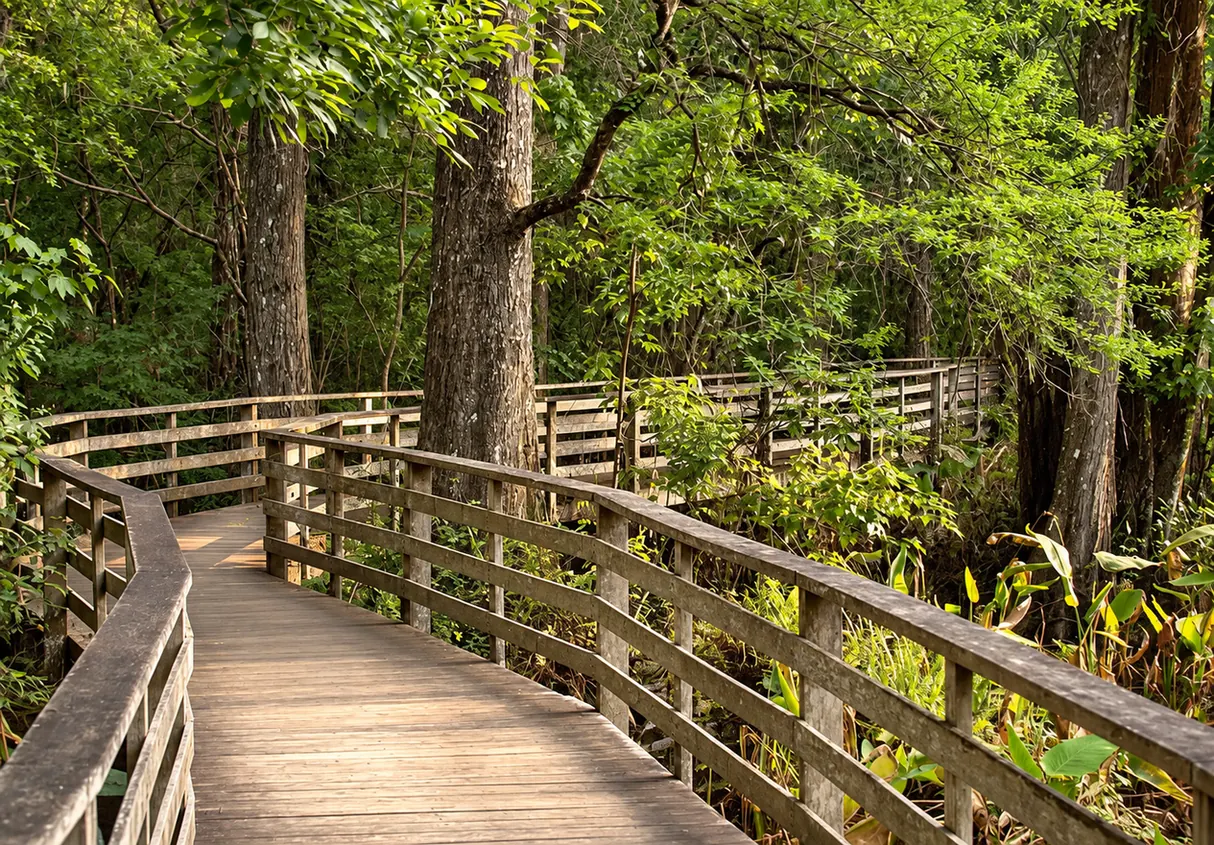
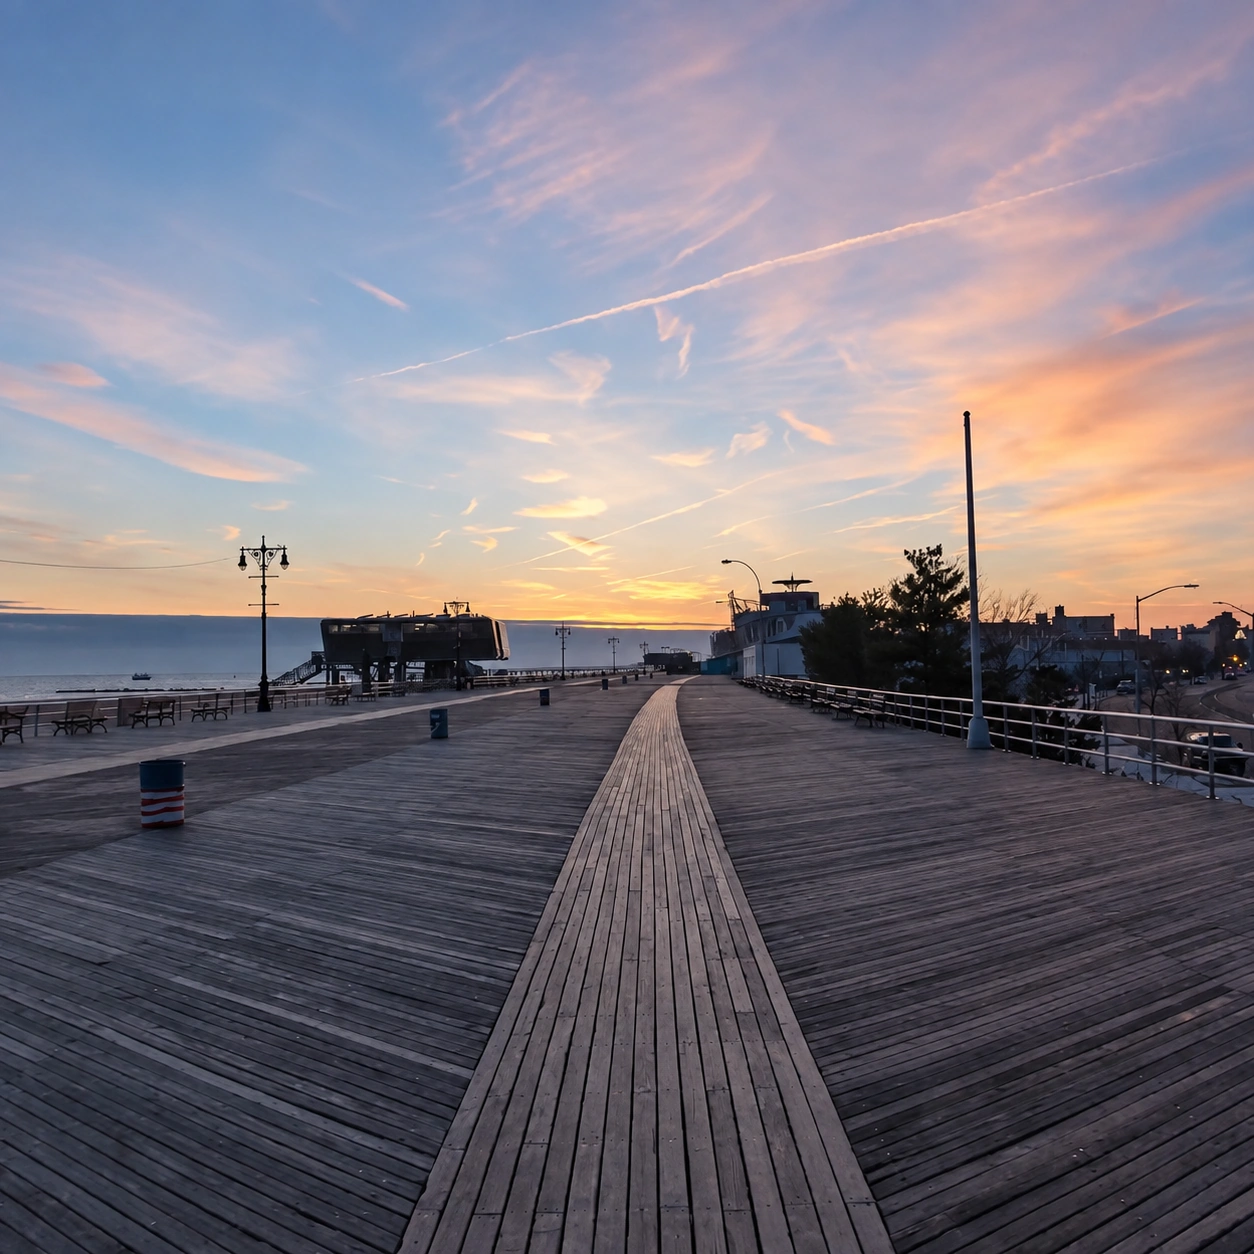
Beach · month 4
Rot-resistant without treatment
One of the most decay- and insect-resistant woods in North America. No copper, no CCA, nothing leaching into the sand or water below.
Hard underfoot
About 1,700 lbf on the Janka scale, harder than red oak. It stands up to foot traffic, carts, and maintenance vehicles.
Domestic hardwood
A North American species and a real-wood alternative to tropical hardwoods like ipe and to plastic composite decking.
The tradeoff
It's dense and hard to work. Pre-drill every fastener; our installation guide covers spacing and acclimation time.
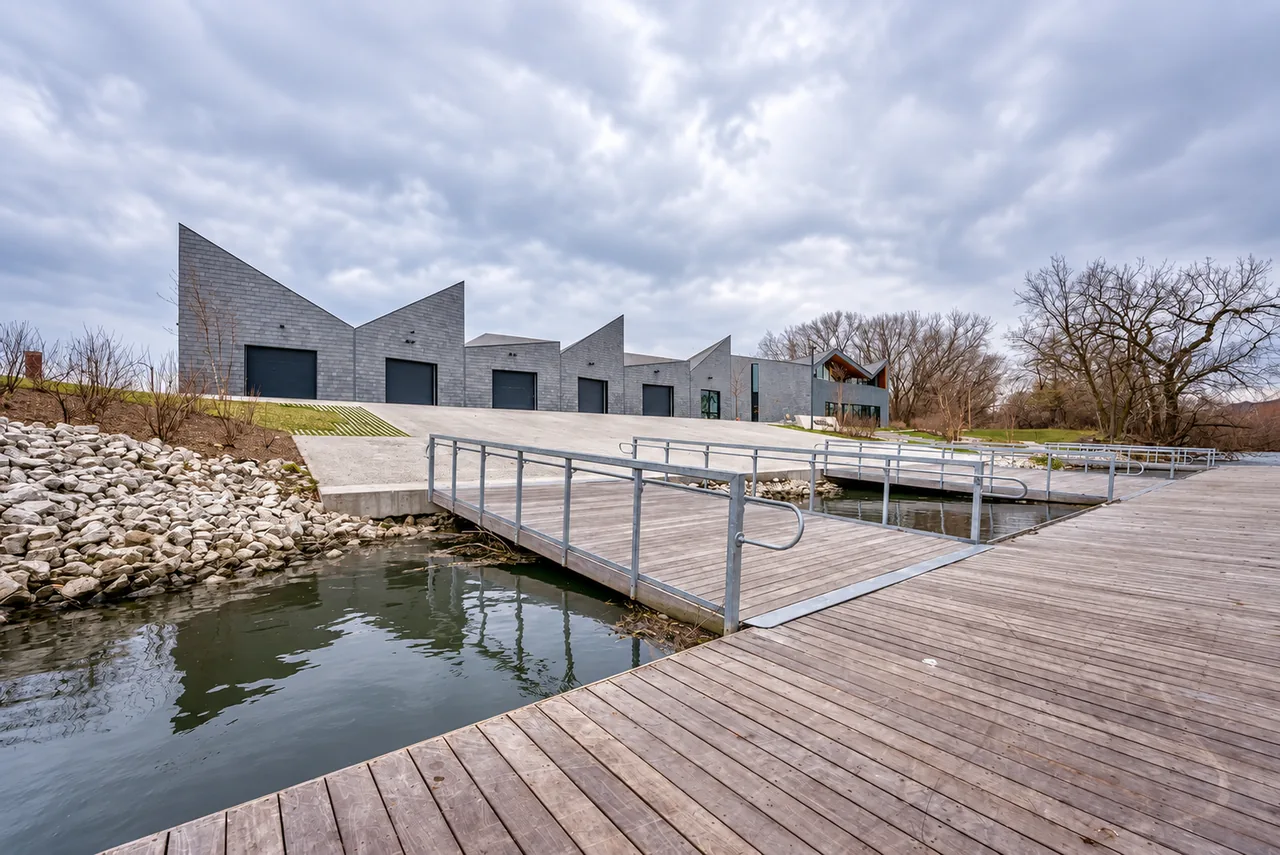
Beach · month 5
Black locust has been used for fence posts, ship pegs, and piers for centuries because it holds up where other woods rot. It's also the material the New York Botanical Garden chose for its own public boardwalk, citing the same decay resistance. Salt air, wet sand, and full sun don't change that.
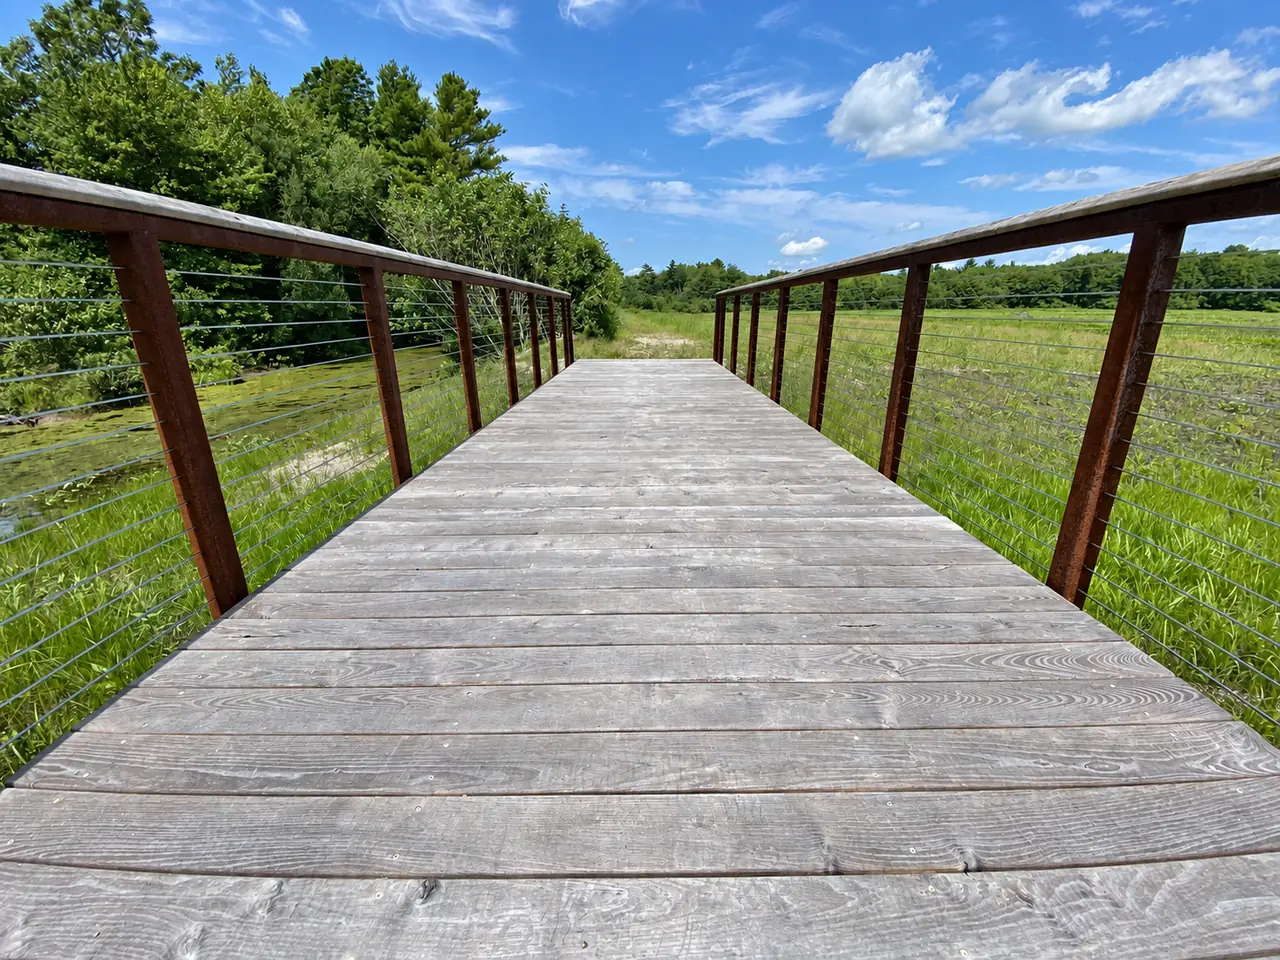
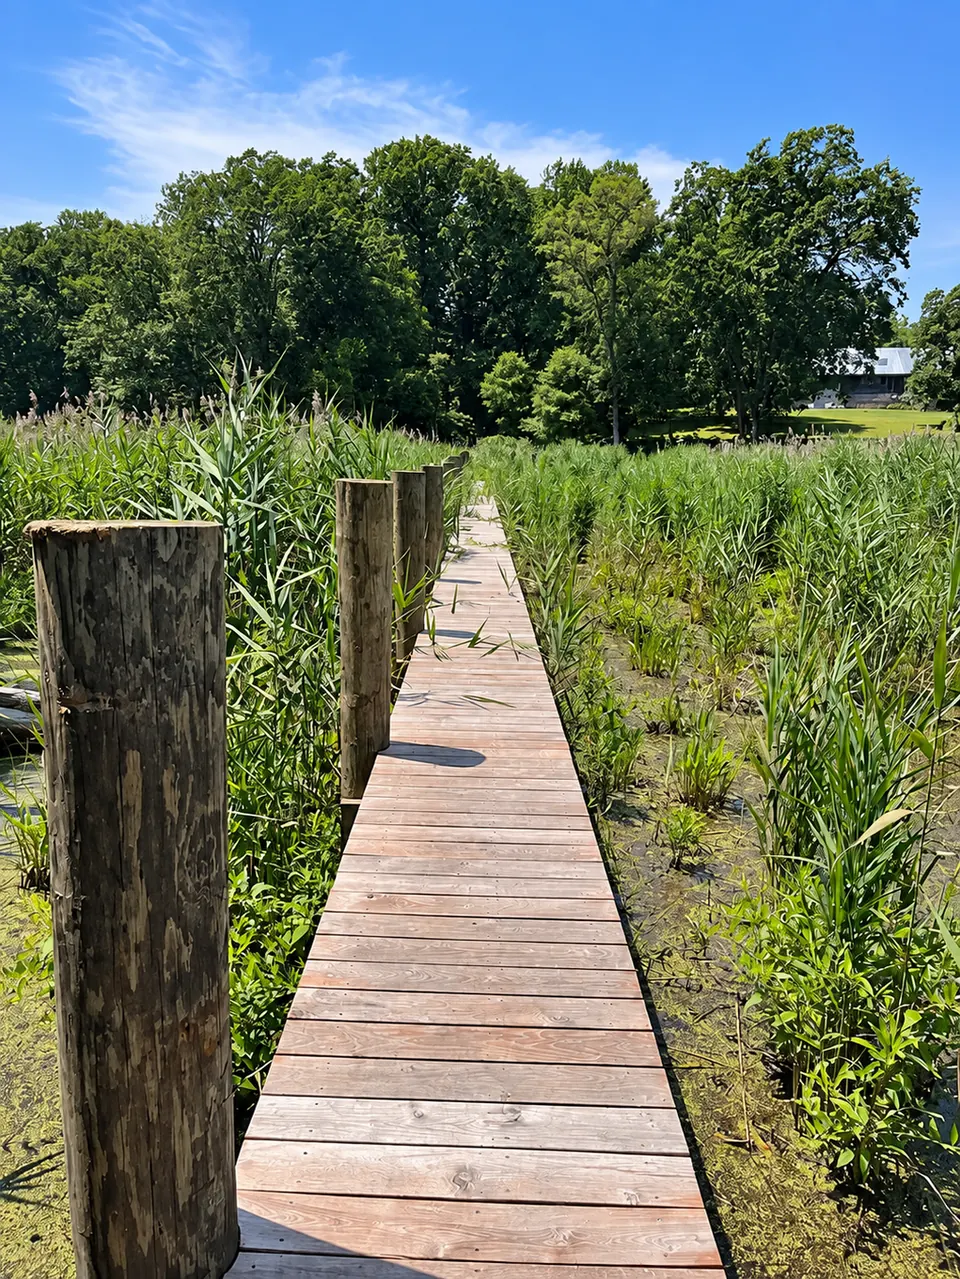
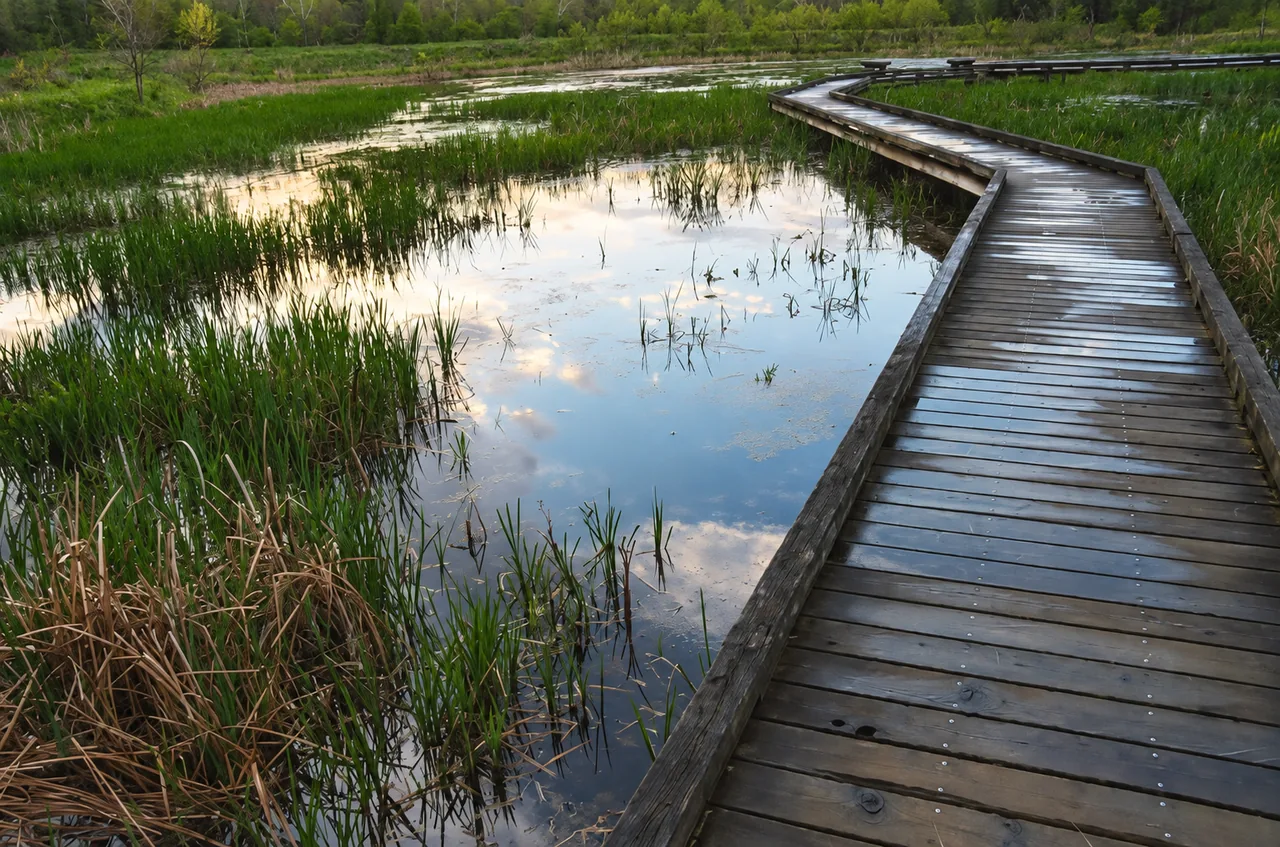
Wetland · month 7
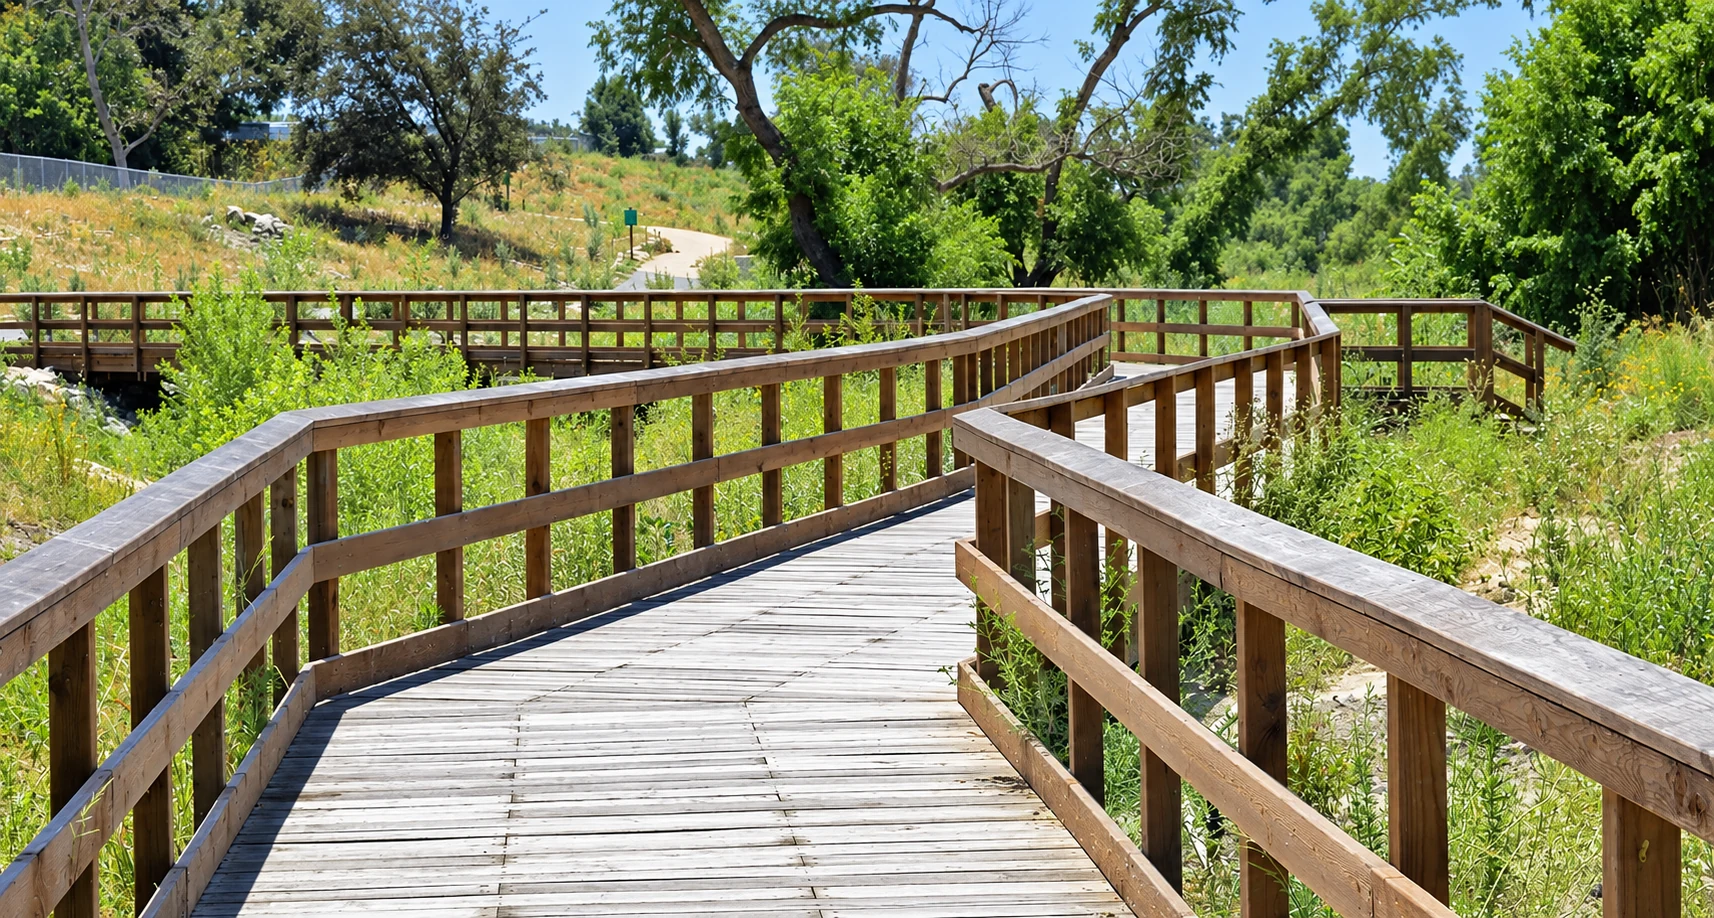
Wetland boardwalks sit inches above standing water and stay damp most of the year. Black locust takes that without rotting at the joints, and without chemicals leaching into a protected habitat. Independent lab testing rates black locust heartwood Durability Class 1 to 2 out of 5 against fungal decay, the same resistance level required for direct ground and freshwater contact.
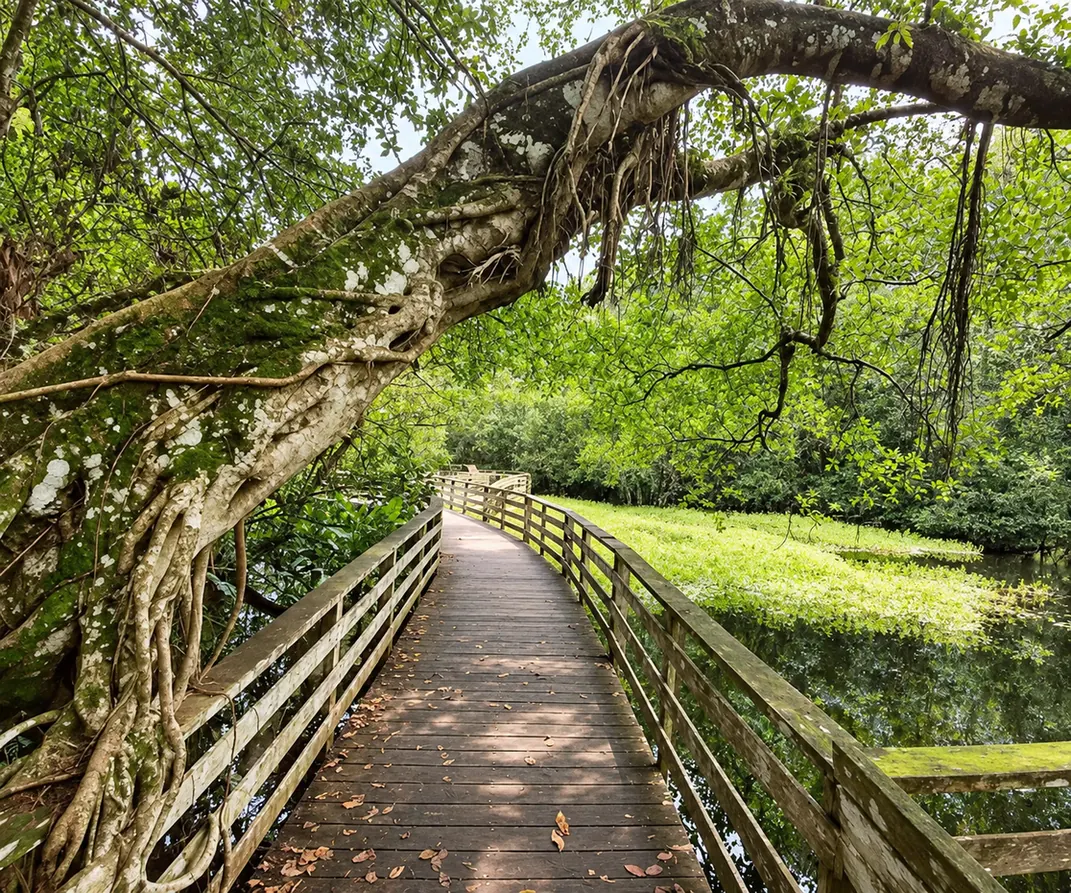
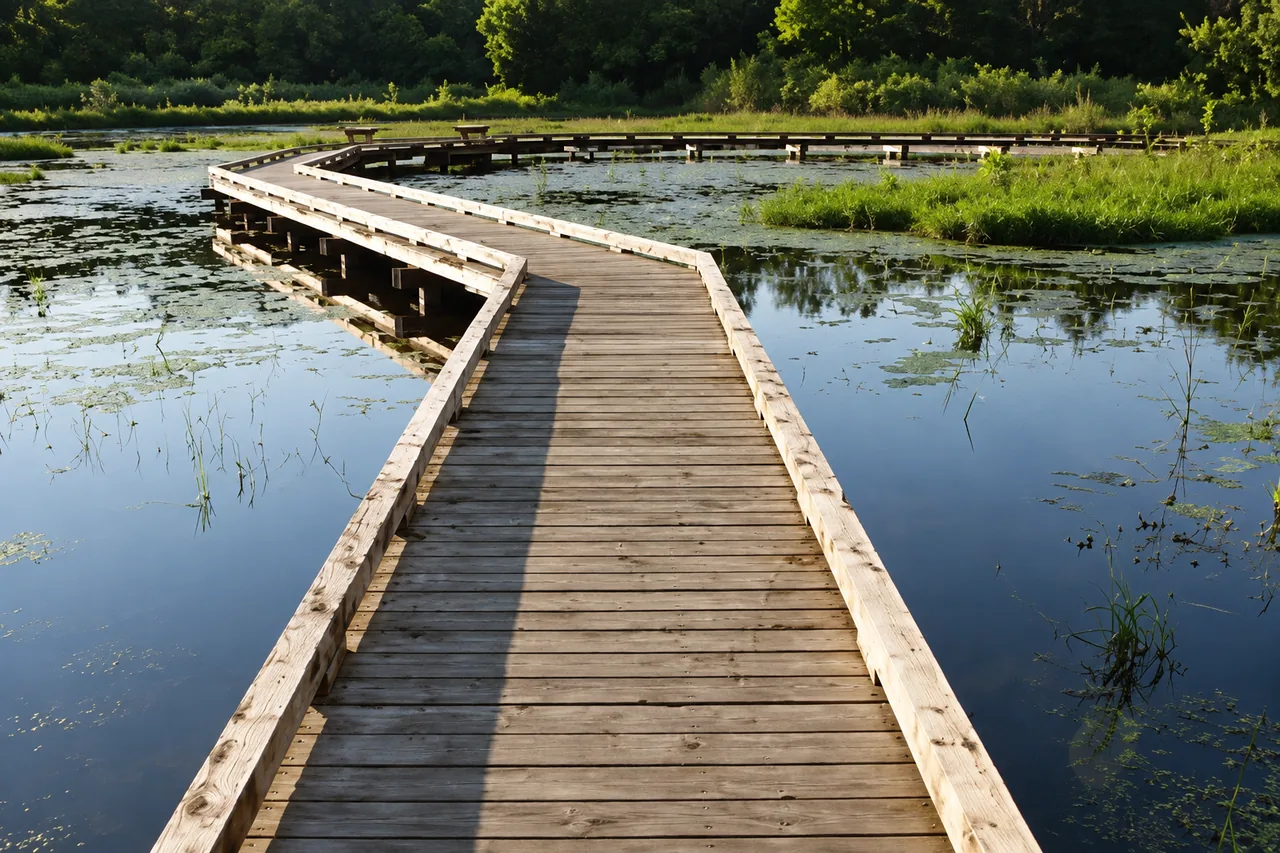
Swamp · month 10
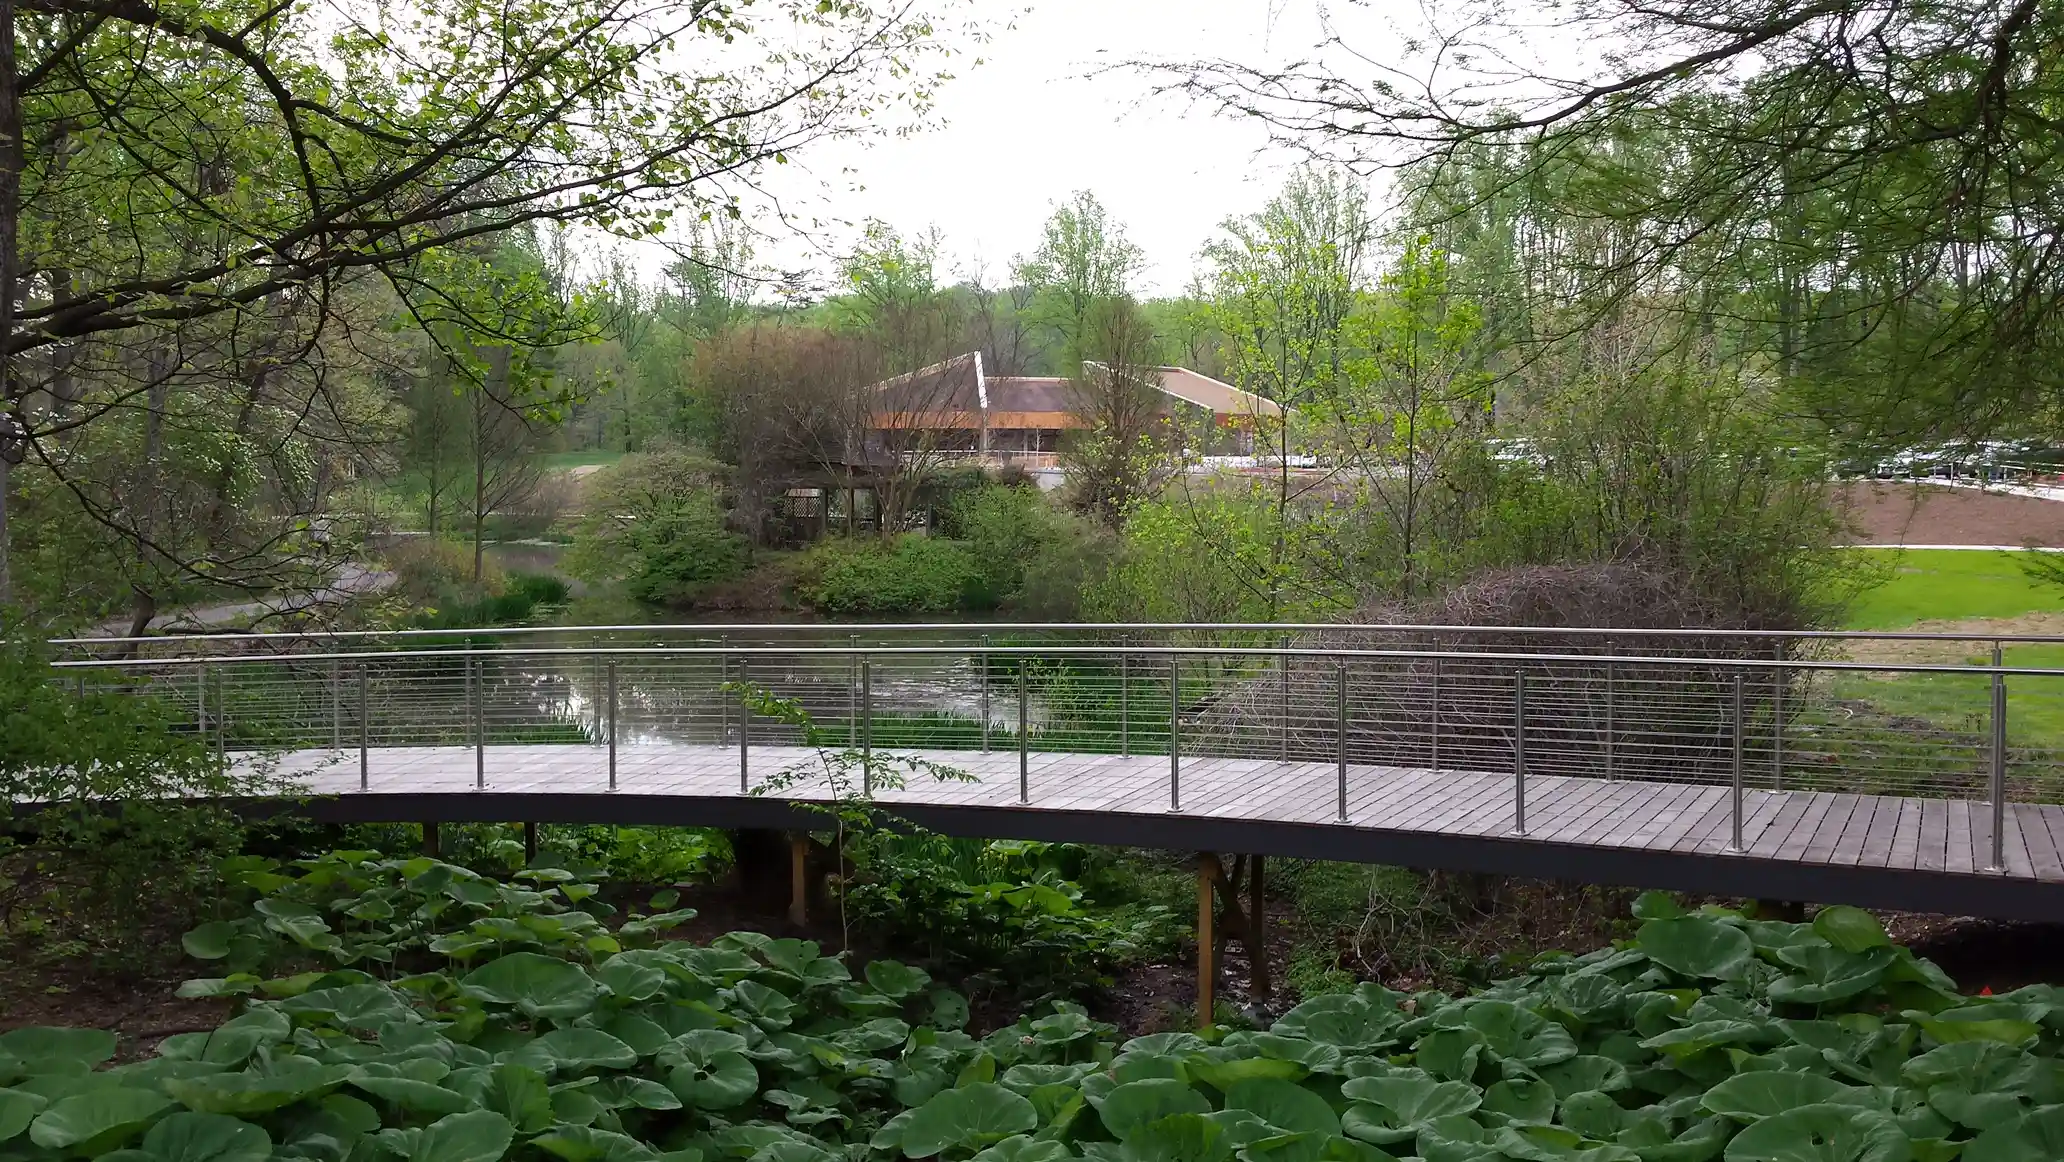
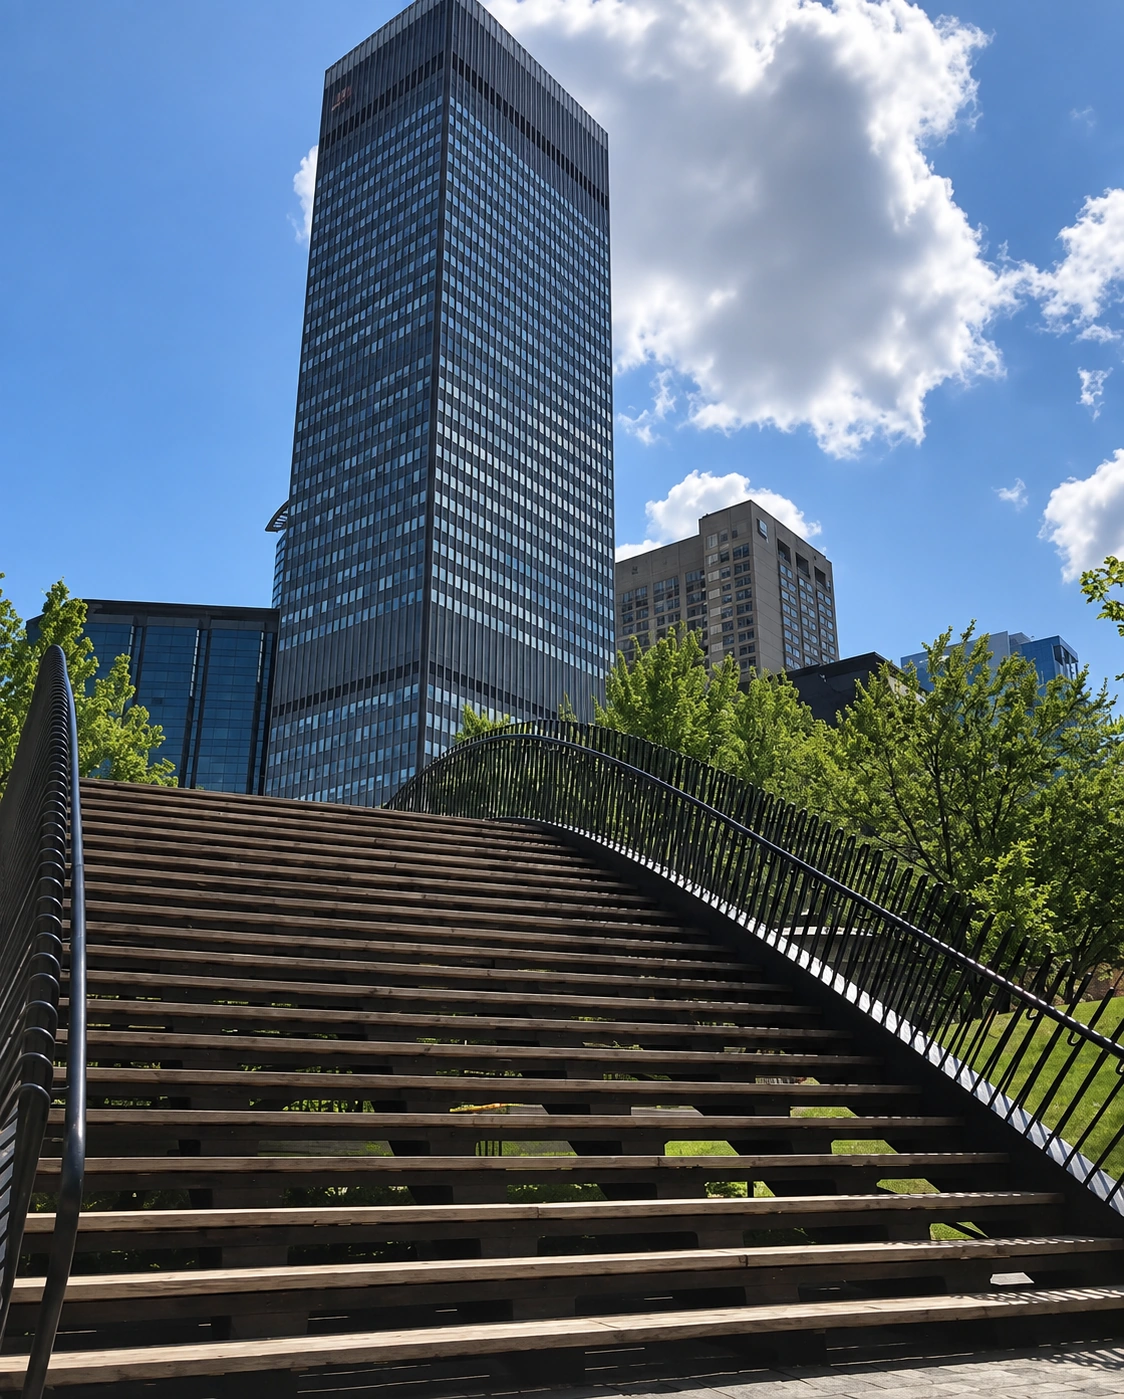
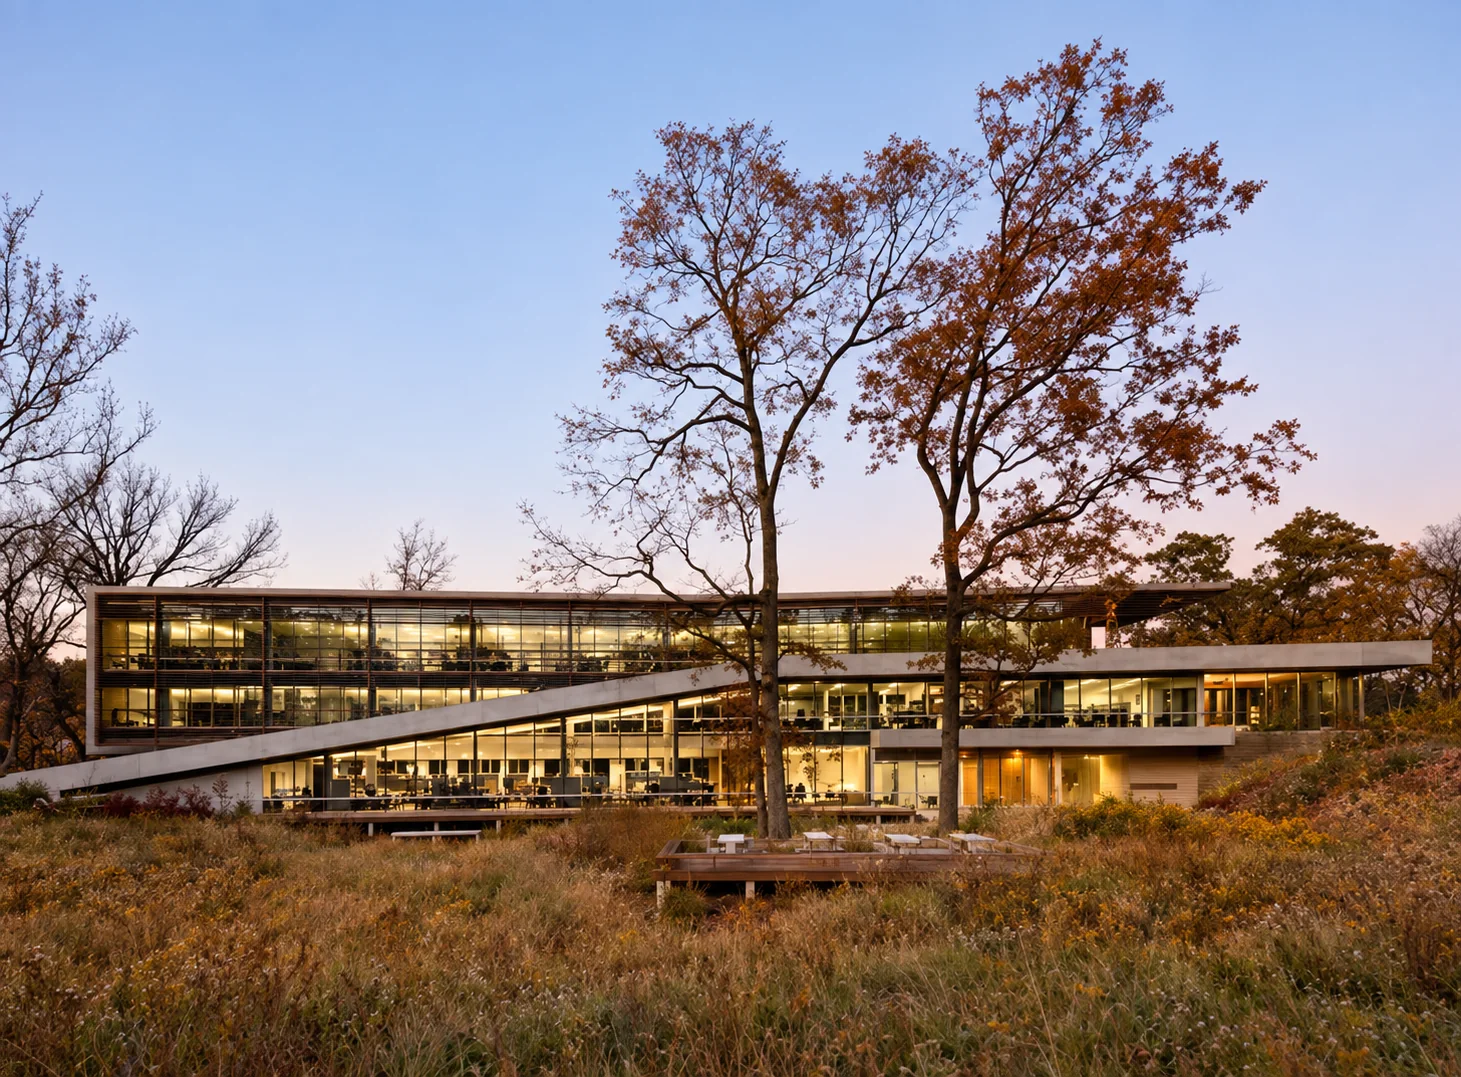
Sun breaks down the lignin at the surface and rain washes it away. What's left is a thin silver gray layer of cellulose fibers. Below it, the board is unchanged.

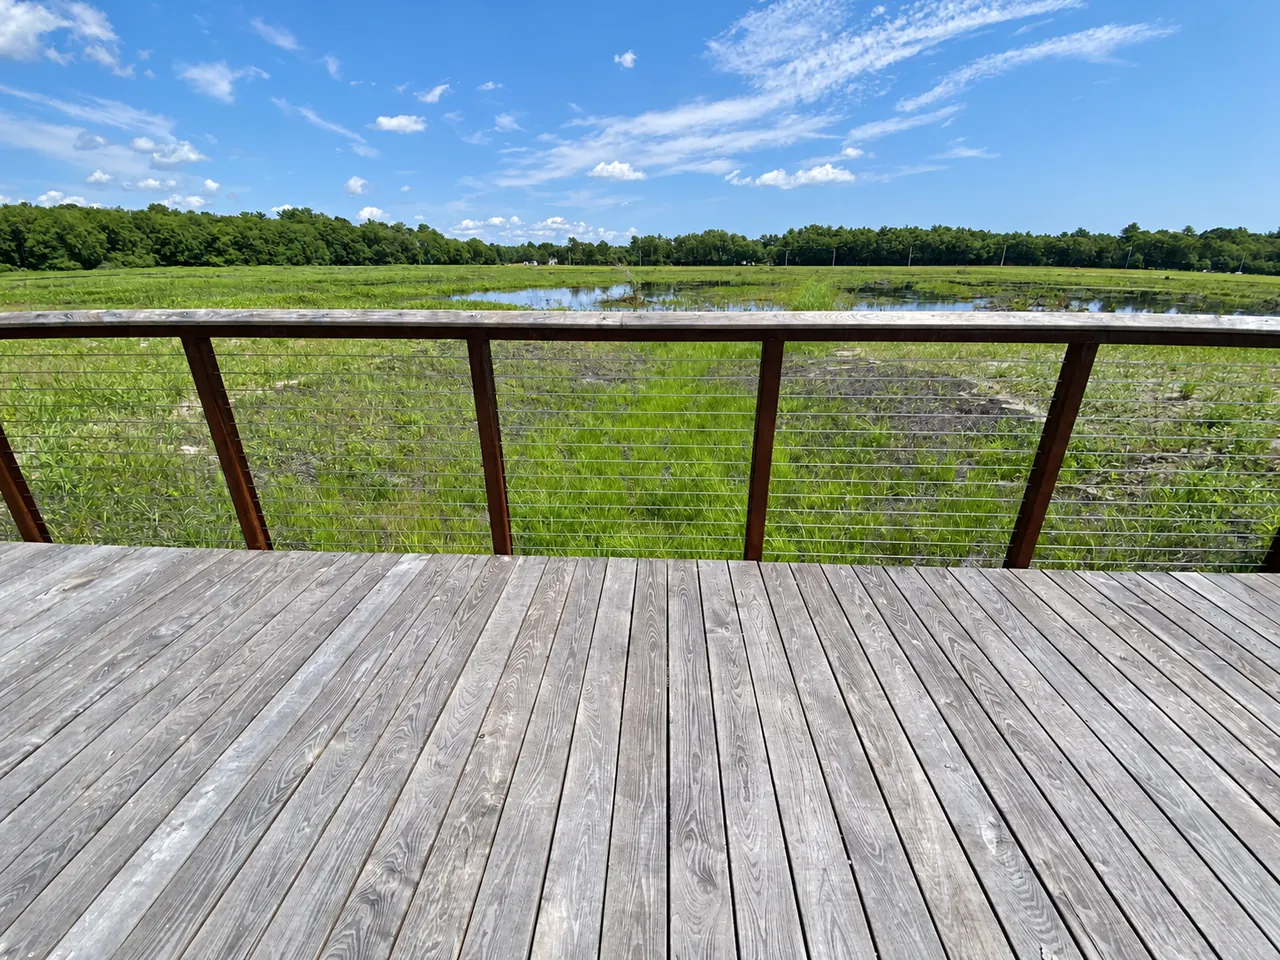
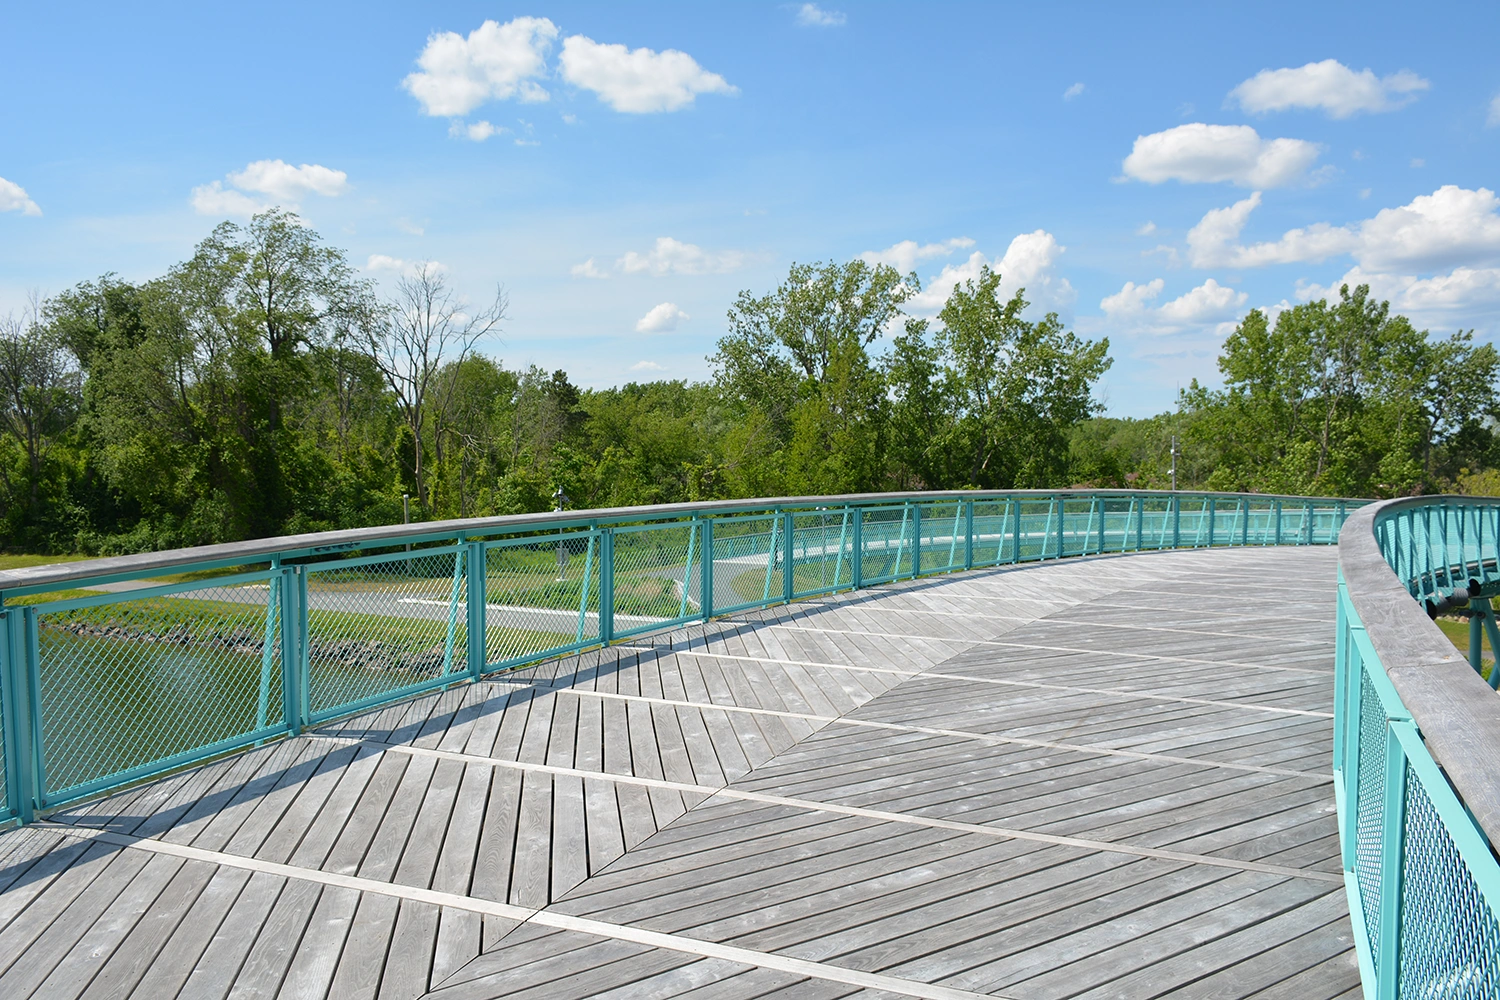
Swamp · month 12
Two profiles, three lengths for boardwalk decking projects. We can discuss other sizes for each project.
Request a quote
Send us the length, width, and site. We'll come back with board counts, lead time, and a price. Hear from past clients about what that process looks like.
Request a quoteOur black locust siding hangs on hidden DeckWise® 1X clips. Each clip holds the board 3/4″ off the wall, so air moves behind it and the wood dries evenly, front and back. Every clip and every screw sits behind the boards. And because the clips screw straight to plywood or OSB, there are no furring strips either.
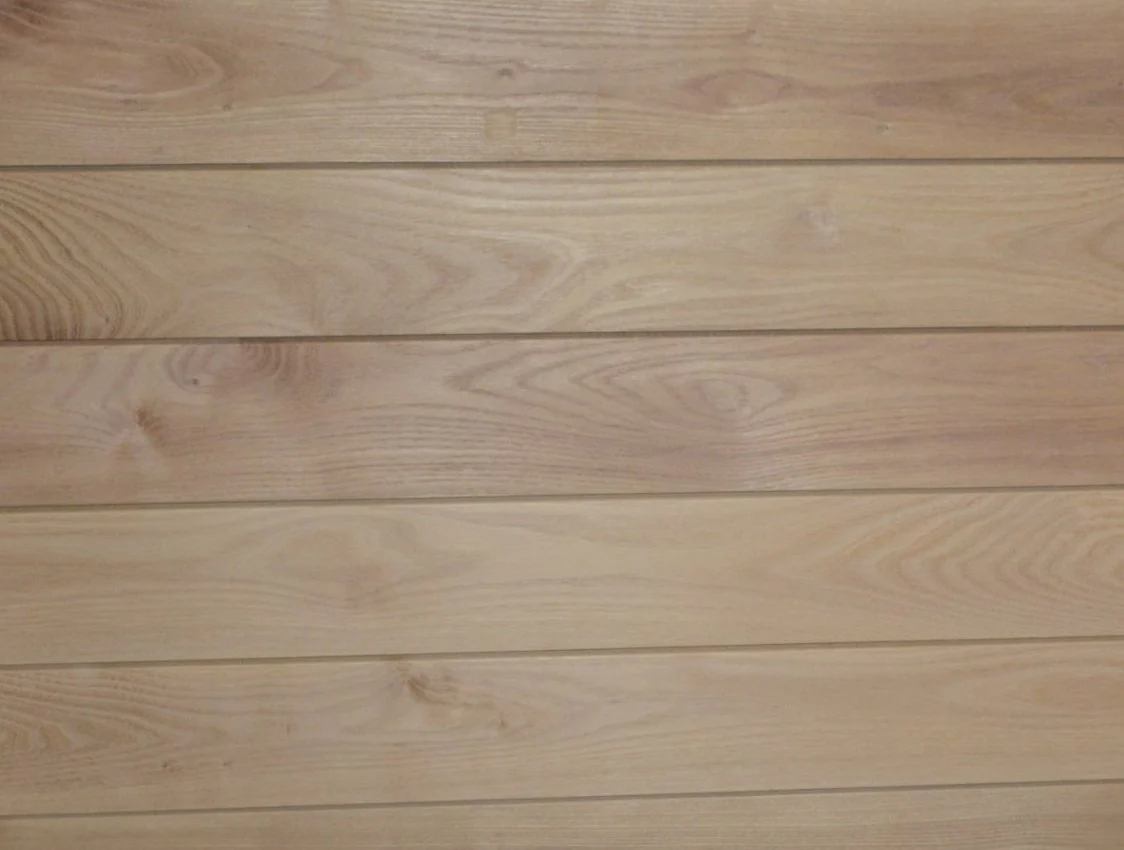 Screws on this face: 0
Siding fastened tight to a wall can’t dry from behind. Moisture that gets back there stays there, against the board and against your sheathing, while the face dries in the sun. Boards that dry on one face and not the other are the boards that cup and twist.
Our clips hold every board 3/4″ off the sheathing. Air rises through that gap and out at the top. Water drains down and out at the bottom. The back of each board dries right along with the face.
Front and back breathe alike, so the board dries the same on both faces.
Even drying, plus a clip every 16″ on every course, helps boards stay straight and resist cupping and twisting.
Water that gets behind the siding drains out instead of sitting against the wall.
Wood that can dry out between rains lasts longer, even one as durable as black locust.
Every clip seats in a groove we mill into the edge of the board, and its one stainless screw goes into the sheathing behind it. The next board covers the clip. When the wall is done there’s nothing to see but wood: no screw heads, no rows of plugs.
One stainless screw through the clip into plywood or OSB.
The milled groove seats over the clip, which holds the board 3/4″ out.
Clip the top edge, and the next board hides that clip too.
A traditional rainscreen gets its air gap from furring strips: rows of wood strapping cut, shimmed and fastened over the sheathing before the first board goes up. Our system builds the gap into the clip.
Clips mount directly over plywood or OSB. No strapping to buy, cut, shim or fasten.
Each clip holds the boards 3/4″ off the wall, so air moves behind every course.
One stainless screw per clip, tucked behind the boards. The face of the wall stays clean.
Weep valleys in each clip let water run out, which keeps the joints dry.
The clip doubles as the starter, so the first course goes on with no extra hardware.
Horizontal installation only. This system is designed for boards running horizontally.
Chalk or laser a level line where the siding starts, 1/4″ above the surface below. Run a Cor-A-Vent® SV-5 siding vent behind the bottom row.
Screw clips along the line at 16″ on center, one stainless screw each, driven straight in at 90°. The clip is the starter.
Set it on the clips, seat it with a rubber mallet and check it with a level. Every course above follows this one.
Seat clips on the board’s top groove, screw them to the sheathing and set the next board. Repeat to the top.
Where two boards meet end to end, one clip at the top and one at the bottom serve both, each with two screws. Seal the cut ends.
Rip the last board to fit, back it with blocking and plug any face screws. Vent the top row, cap it with flashing, and leave 1/4″ at soffits so air can escape.
DeckWise® 1X Rainscreen clip
Marine-grade aluminum, three pre-drilled holes, a wide mounting flange and weep valleys for drainage. Doubles as the starter.
Stainless steel screws
#9 × 1″ or #9 × 1-1/2″ ttap® pan head, one per clip (two at end joints), with a T-20 driver tip. Stainless screws in aluminum clips avoid corrosion.
Kits
50 clips with 60 screws · 100 clips with 125 screws · 300 clips with 350 screws. Every kit includes driver tips.
Cor-A-Vent® SV-5 siding vent
A vent strip under the top and bottom rows, so air moves through the gap and insects stay out.
Anchorseal® 2
Brush it on fresh-cut ends to prevent up to 90% of end checking.
We’re an authorized DeckWise® dealer.
What you need, how to prep, every step and the details at end joints, vents and the top course.
Enter your wall area and board width. We’ll rough out the clips you need and the furring strips you won’t.
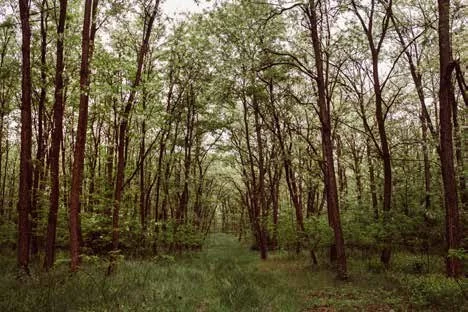
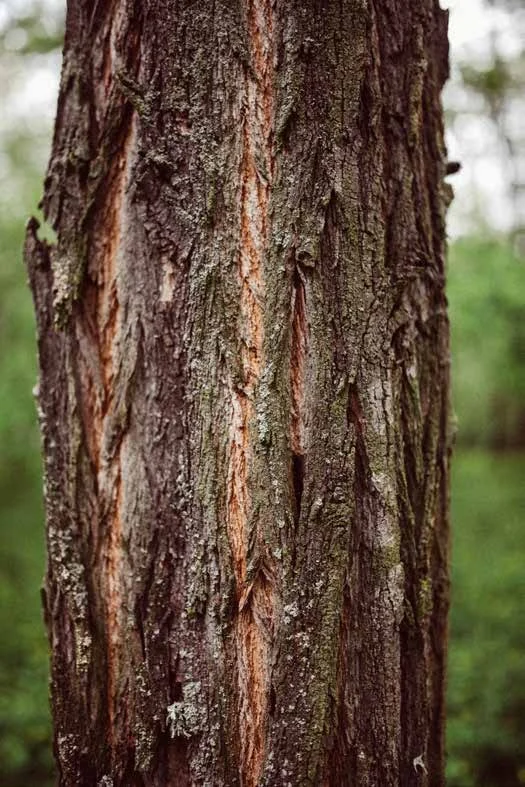
The most durable rating. Rot, insect and weather resistance grow in the heartwood itself.
Flame spread of 25 or less, tested to ASTM E84. That matters on a wall.
Never pressure-treated, never stained or sealed. Nothing to reapply, ever.
Native to Appalachia, it fixes nitrogen in the soil and regrows from its own roots.
Sawn, air-dried and milled at our mill in central Pennsylvania.
Our structural warranty covers siding above grade against rot, and passes to the next owner.
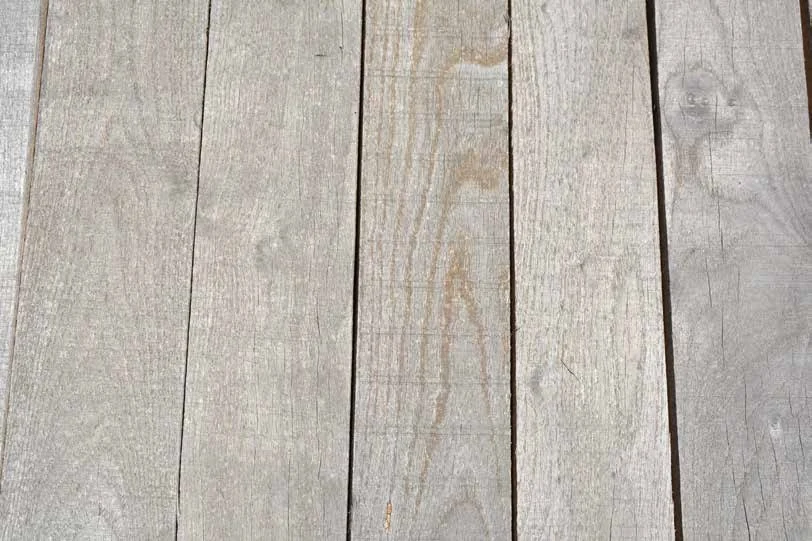
Black locust goes up honey amber, weathers to driftwood gray within 6 to 18 months, and settles into an even silver gray after about two years. No oils, stains or sealants, ever.


In partnership, we had custom knives made for our molder, so every board comes off the line with a groove machined to seat the DeckWise® 1X Rainscreen clip. It’s the only hidden-clip rainscreen system made with black locust.
Species
Black locust, Robinia pseudoacacia
Thickness
1x · 0.70″ finished
Profile
Hidden-clip groove, both edges
Orientation
Horizontal only
Air gap
3/4″, set by the clip
Substrate
Plywood or OSB sheathing
Drying
Air-dried
Durability · fire
Class 1 · Class A (ASTM E84)
Treatment · finish
None · patinas naturally
Warranty
50-year structural, above grade
No. Each clip’s screw goes into the sheathing behind the board, and the next board covers the clip. If the top board is ripped to fit, it’s fastened through blocking and the screw holes are plugged.
It lets the back of every board dry as well as the face. Even drying helps boards stay flat, and water that gets behind the siding drains out instead of sitting against your sheathing.
No. The clips mount directly to plywood or OSB sheathing and create the 3/4″ air gap themselves, and the same clip starts the first course.
No. This system is designed for horizontal installation only.
Plywood or OSB sheathing and a weather barrier, with a Cor-A-Vent® SV-5 siding vent under the top and bottom rows. Each clip is screwed into the sheathing.
Clips go every 16″ along each course. The clip planner above gives a rough count, and your quote will have exact quantities.
No. Black locust needs no oils, stains or sealants. It weathers to a natural silver gray on its own. Seal fresh-cut ends during install.
Black locust carries a Class A flame spread rating (25 or less, ASTM E84). Check your local code for requirements on your wall assembly.
Order a sample to see the profile and feel the wood. Then send us your elevations or square footage and we’ll quote the siding and clips together.